

As an Amazon Associate, I earn from qualifying purchases
A faucet aerator is a screen or mesh that fits onto your tap mixing water with air to prevent splash and promote better water usage. Mineral deposits can accumulate in Aerators over time, disrupting the flow of water and producing erratic spray patterns.
A simple way to get your faucet back in top condition is by cleaning the aerator. So read this guide to know how to remove and clean a faucet aerator and your faucet will be back running smoothly and efficiently again.

What Is an Aerator?
By mixing air with the water stream, an aerator reduces water usage, prevents splashing, and creates a more consistent, even flow. It’s designed to save water and energy while maintaining effective water pressure.
Aerators can also help filter out small debris, but over time, mineral deposits and sediment can clog them, leading to reduced water flow. Regular cleaning or replacement of an aerator could help maintain faucet efficiency and extend its lifespan.
What You’ll Need
Equipment / Tools & Materials:
To remove and clean a faucet aerator, you’ll need the following tools and materials:
- Adjustable wrench or pliers (for tightly fitted aerators)
- Soft cloth or masking tape (to protect the faucet from scratches)
- Vinegar or limescale remover (for cleaning mineral deposits)
- Old toothbrush (for scrubbing the aerator)
- Small bowl (to soak the aerator)
- Paperclip or needle (to clear out stubborn debris in small holes)
These basic tools will help you remove, clean, and reattach the aerator easily.
Instructions for Removing and Cleaning a Faucet Aerator
A. Prepare the Area
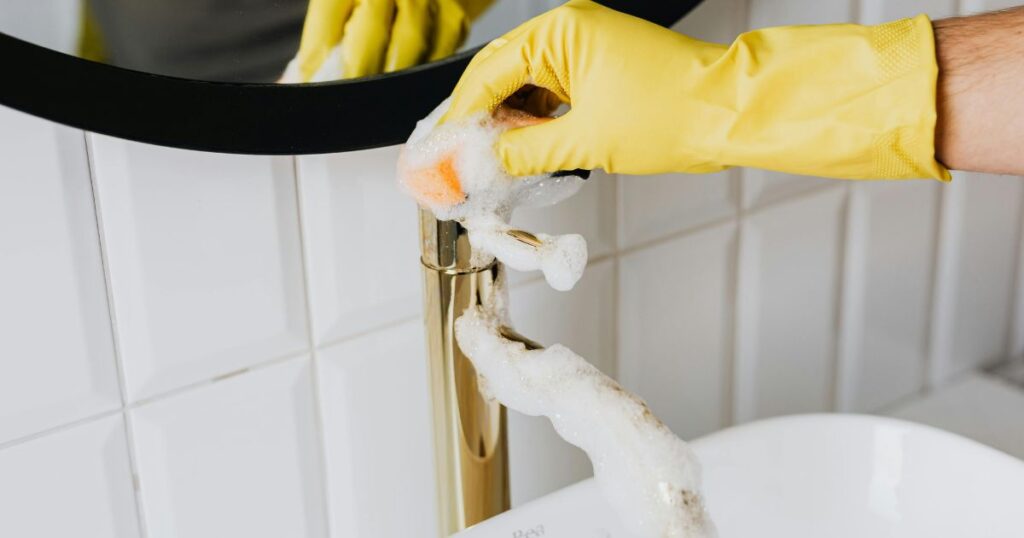
Place a cloth or towel in the sink to catch any parts or debris that may fall during the process. This also helps prevent any scratches or damage.
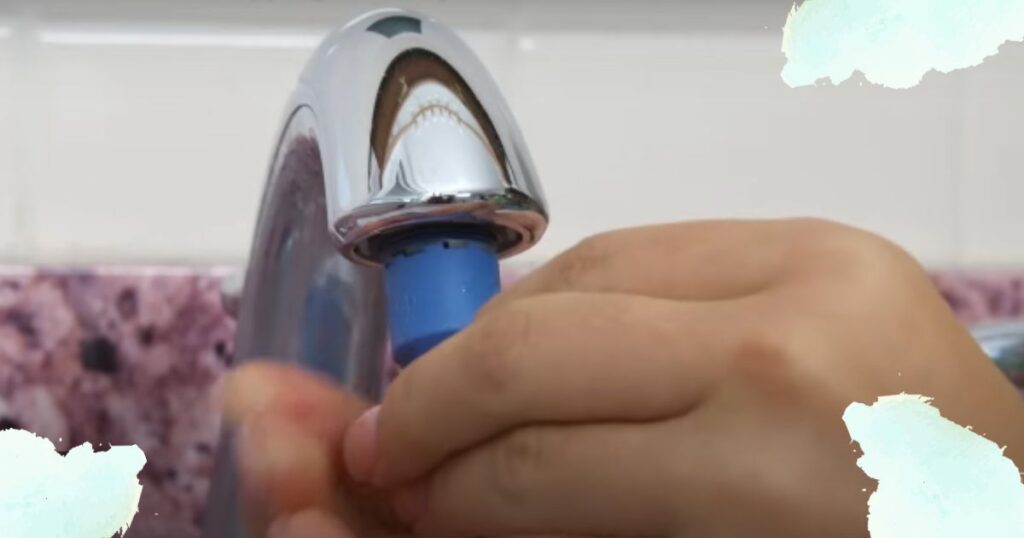
B. Identify the Aerator
The aerator is located at the end of your faucet spout. Look for the small screen that helps regulate water flow.
C. Unscrew the Aerator
- By Hand: If it’s not too tight, try unscrewing the aerator by turning it counterclockwise with your hand.
- Using Tools: If the aerator is stuck, wrap a soft cloth or masking tape around it to protect the finish. Then, use pliers or an adjustable wrench to gently loosen and unscrew it.
D. Disassemble the Aerator
Once removed, take apart the aerator components, which usually include a screen, a washer, and a small insert. Lay them out in the order you disassembled them for easier reassembly.
E. Soak the Aerator
Place the aerator parts in a small bowl filled with vinegar or limescale remover. Let them soak for about 30 minutes to dissolve any mineral deposits.
F. Scrub the Parts
After soaking, use an old toothbrush to gently scrub the screen and other components, removing any remaining debris or buildup. For clogged holes, use a paperclip or needle to clear them out.
G. Rinse and Dry
Rinse all the parts thoroughly under running water to remove any remaining debris or cleaner. Dry them completely before reassembly.
H. Reassemble the Aerator
Once cleaned, reassemble the aerator components in the same order you took them apart.
I. Reattach the Aerator
Screw the aerator back onto the faucet spout, turning it clockwise. Hand-tighten it first, and if needed, use pliers or a wrench to finish securing it, taking care not to overtighten.
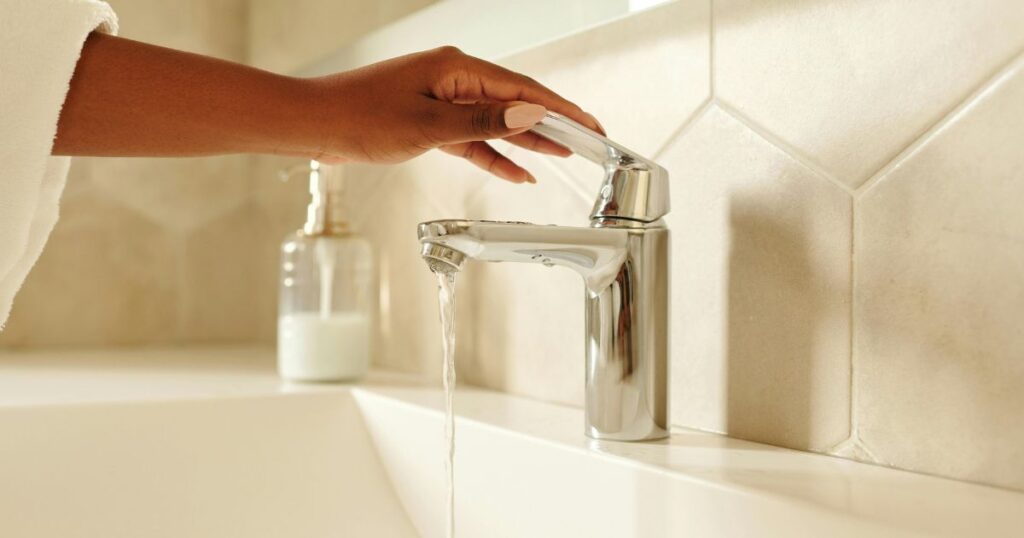
J. Test the Water Flow
Turn the faucet on to check the water flow. If it’s smooth and consistent, your aerator is properly cleaned and reinstalled. If the flow is still uneven, consider replacing the aerator.
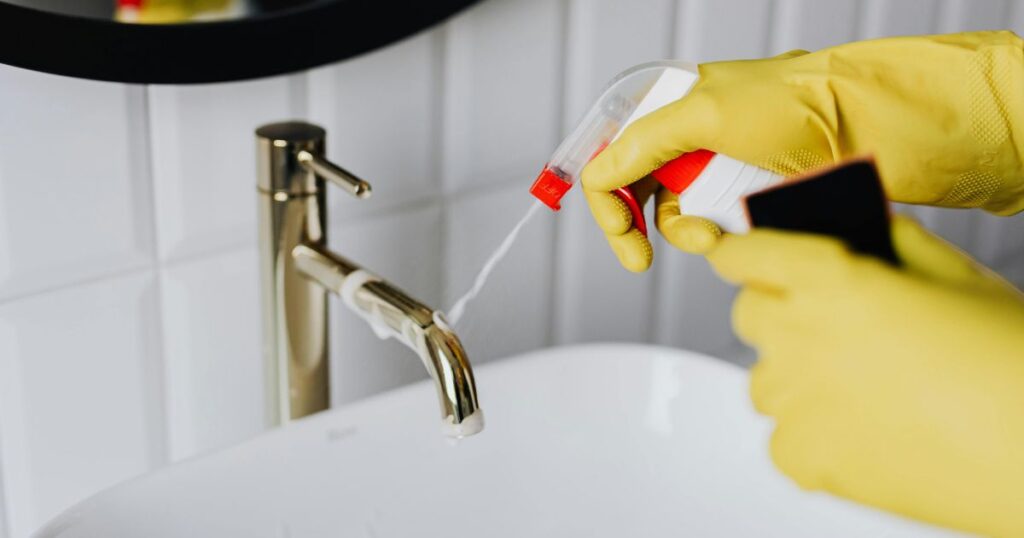
k. Apply Penetrating Oil
If the aerator is stuck and can’t be removed by hand or with tools, applying penetrating oil can help loosen it. Follow these steps:
Choose the Right Oil: Select a penetrating oil like WD-40, which is designed to loosen rust and debris that might be causing the aerator to stick.
Apply the Oil: Spray or apply a small amount of penetrating oil directly to the threads of the aerator. Ensure the oil is concentrated around the area where the aerator meets the faucet spout.
Let It Soak: Allow the penetrating oil to sit for 10–15 minutes. This gives it time to break down any corrosion or debris that might be binding the threads.
Wipe Off Excess Oil: After waiting, use a soft cloth to wipe away any excess oil from the faucet to prevent it from getting onto other surfaces or into the water.
Attempt to Remove the Aerator: After the oil has had time to work, try unscrewing the aerator by hand again, or use pliers if necessary. The oil should have loosened the aerator, making it easier to remove.
Using penetrating oil can be highly effective in loosening a stuck aerator without causing damage to the faucet.
By following these steps, you can easily remove, clean, and maintain your faucet aerator to keep your water flow efficient.
FAQ Of Remove and Clean a Faucet Aerator
Quest: What is the purpose of a faucet aerator?
Ans: A faucet aerator helps regulate water flow by mixing air with the water stream, which reduces splashing, conserves water, and provides a smoother flow.
Quest: How often should I clean my faucet aerator?
Ans: It’s recommended to clean your aerator every 3 to 6 months, depending on water hardness and usage, or whenever you notice reduced water flow.
Quest: What tools do I need to remove a faucet aerator?
Ans: You may need an adjustable wrench or pliers, a soft cloth to protect the faucet finish, and an old toothbrush for cleaning. For stuck aerators, a penetrating oil like WD-40 may help.
Quest: What if I can’t remove the aerator by hand?
Ans: If the aerator is stuck, you can use pliers or an adjustable wrench to gently unscrew it. Make sure to protect the faucet with a soft cloth to avoid scratching the surface.
Quest: Can I clean the aerator without removing it?
Ans: While it’s possible to soak the aerator in vinegar or a limescale remover without removing it, it’s much more effective to disassemble the aerator for thorough cleaning.
Final Thoughts
A Quick Way to Clean An AeratoRegularly cleaning your faucet aerator can help you make sure your water flow is at its best. The aerator is a part that can clog with time, due to mineral deposits and or debris, which will cause lower water flow or an uneven spray from the tap.
So your faucet can work better without having professional help. It not only helps increase the longevity of your faucet but ensures a steady, smooth flow of water.
Using the right tools and methods, you can easily clean your aerator in just a few minutes — and make it pay dividends.
As an Amazon Associate, I earn from qualifying purchases