
As an Amazon Associate, I earn from qualifying purchases
Wear a Bra Correctly: Wearing a bra correctly can make all the difference in terms of comfort, support, and overall appearance. However, many people are unaware of how to properly put on a bra, leading to discomfort, poor posture, or an unflattering fit.
Whether you’re wearing a bra for the first time or just looking to perfect your technique, this guide will help you understand how to wear a bra correctly so you can feel confident and comfortable all day long.

How to Wear a Bra Properly
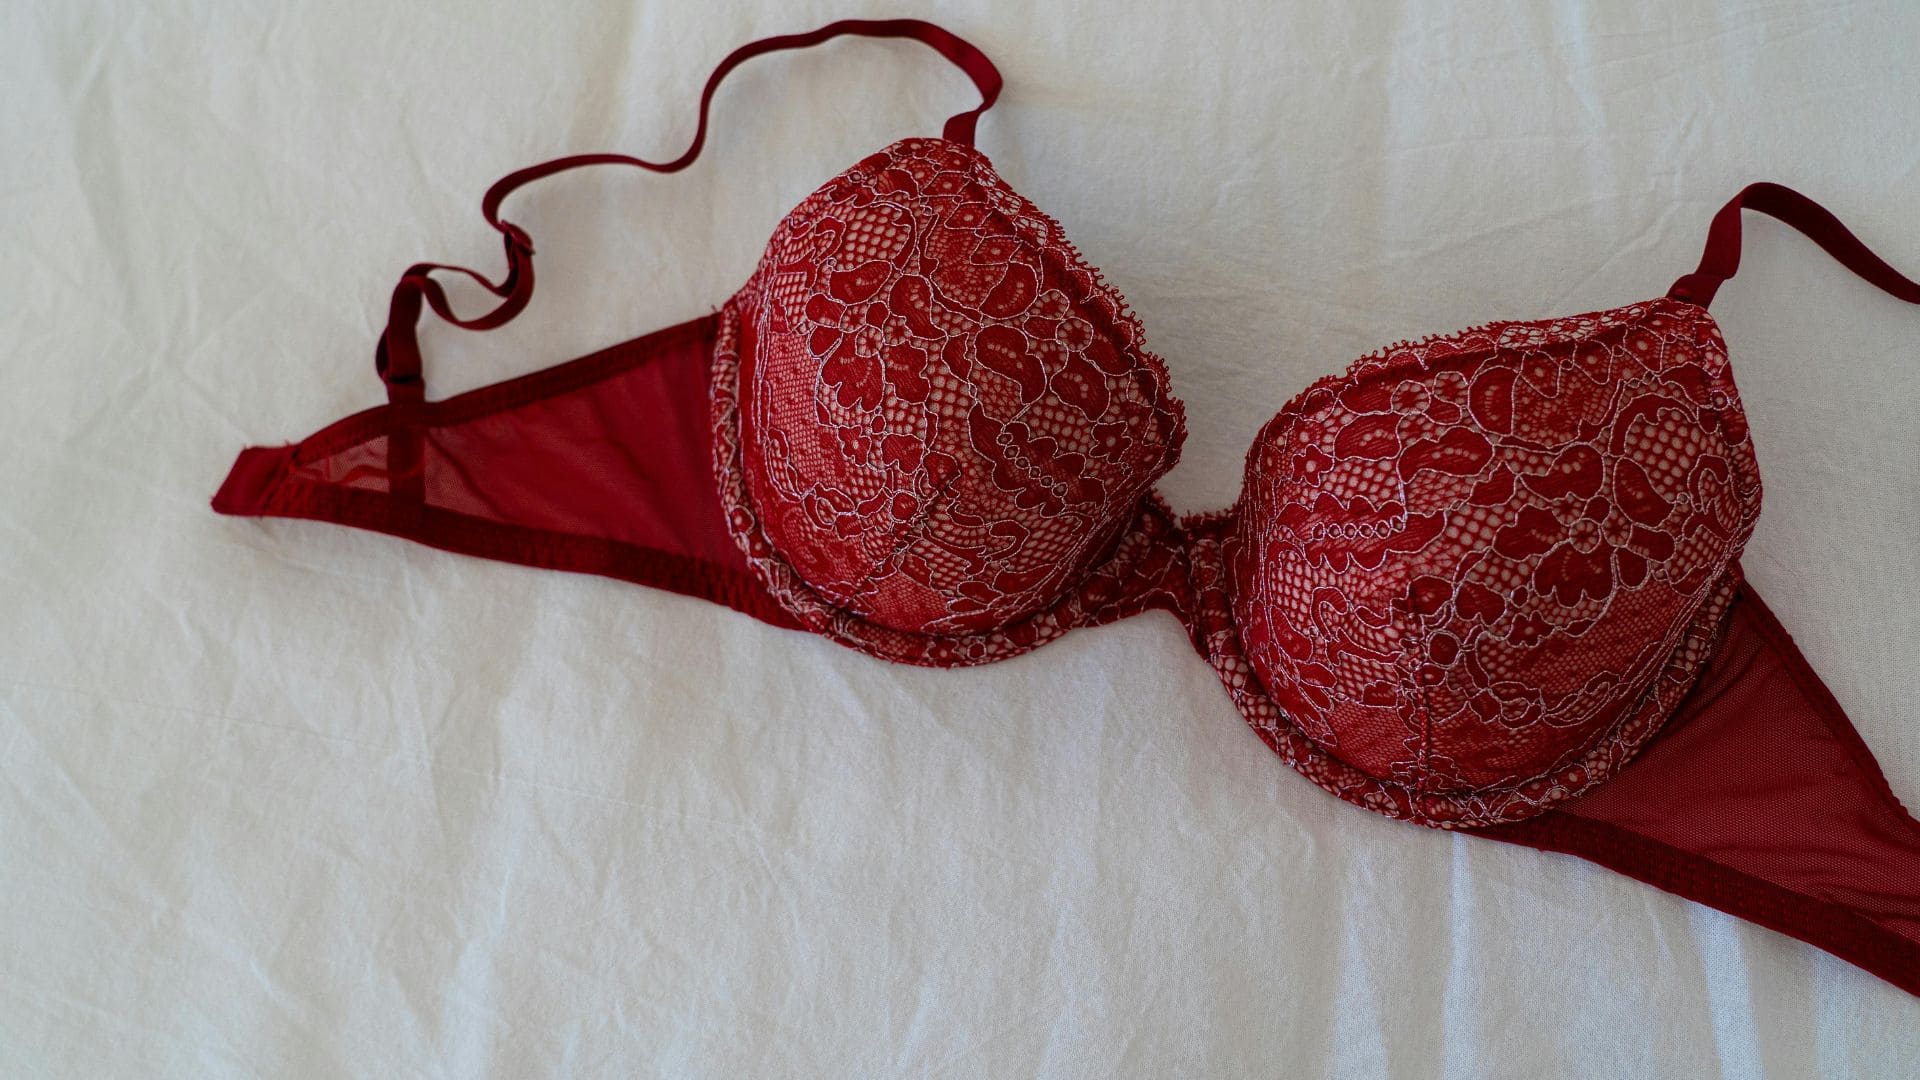
The Bra Fitting Process The first step of wearing a bra properly is having the right fit and adjusting each part for support. The band will be nice and snug around your ribcage, parallel to the floor, far enough down on your back so that it can’t ride up.
Bend forward a little and let your breast fall well into the cups by holding them with your hands, from there, gently push them back to prevent spilling out of the top. Tighten the straps snugly – so that the tension should be such that you feel a pull and provide lift, but it won’t dig deep into your shoulders. The gore, which is the name for the center of your bra, should lay flat against your sternum.
Scoop and swoop Simply, pull your breast tissue from the sides into cups to get a perfect fit. A well-fitting bra should not have any loose straps, as they are only there to hold the cups in place against your breasts, nor tight ones as the band is what supports most of your breasts.
Wearing a bra properly not only makes you more comfortable but also allows for better posture and appearance.
The Importance Of Proper Bra Fit
Wearing the right bra size is crucial for comfort and support. It’s not just about the look; it’s also about your health. A properly fitted bra can enhance posture, alleviate back pain, and prevent breast tissue damage. Let’s make sure you have the perfect fit.
Signs Of A Poorly Fitted Bra
- Underwire discomfort: The wire should lie flat against your skin, not pinch or poke.
- Gaping cups: Your breasts should fill the cups without overflowing or leaving extra space.
- Straps digging in Shoulder pain means the straps carry too much weight.
- Band riding up: The band should be level and secure around your body.
Health Implications Of Wrong Bra Size
| Issue | Health Implication |
|---|---|
| Poor Posture | Lack of support leads to slouching and back pain. |
| Skin Irritation | Tight bras cause chafing and skin damage. |
| Breast Pain | Ill-fitting bras exert unnecessary pressure. |
| Breathing Troubles | Tight bands compress the chest, making deep breaths hard. |
Anatomy Of A Bra
Understanding the Anatomy of a Bra is crucial for any woman. It is the foundation for a comfortable fit. Each part of a bra has its specific purpose. To wear a bra correctly, recognizing these parts is the first step. Let’s explore them in detail.
Identifying Different Parts
- Cups – Hold and shape the breasts
- Underwire – Provides support, especially for larger sizes
- Straps – Keep the bra anchored and lift the bust
- Band – Encircles the torso, ensuring the bra stays in place
- Closure – Allows for the bra to be secured; it can be at the back or front
- Gore – The center part that connects the cups
- Wings or Sides – The side sections offering additional support
Understanding Their Functions
| Part | Function |
|---|---|
| Cups | Provide coverage, shape, and support the breasts |
| Underwire | Add extra lift and support to anchor the bra |
| Straps | Adjustable to ensure the bra fits snugly on the shoulders |
| Band | Should feel firm for proper support without discomfort |
| Closure | Can be hooked at a comfortable setting for easy wear |
| Gore | Keeps cups in place and contributes to the overall fit |
| Wings | Smoothen the sides for a seamless look under clothes |
Each of these components plays a role in the overall function and comfort of a bra. The right fit involves more than just sizing; it’s about how well these parts work together. With this knowledge, selecting and wearing the perfect bra becomes an easier task.
Measuring For The Perfect Fit
Your perfect fit is not just a number and a letter; it’s the key to feeling secure and at ease. Let’s dive into how you can measure yourself for the perfect bra fit, ensuring your support system works just as hard as you do!
Tools Required For Accurate Measurement
Before you start, gather a few essential tools:
- Soft measuring tape: Ensures precision.
- Mirror: Helps in keeping the tape level.
- Notepad: Jot down measurements.
- Calculator (optional): Confirm your math.
Step-by-step Measuring Guide
Follow these steps to measure your bra size accurately:
- Stand straight: In front of a mirror, stand upright, with relaxed shoulders.
- Measure your band: Wrap the tape just under your bust, level, and snug. Round to the nearest whole number.
If even: Add 4 inches. If odd: Add 5 inches. - Measure your bust: Place the tape at the fullest part of your bust. Make sure it’s flat across the back.
- Calculate cup size: Subtract your band size from your bust measurement. Each inch represents a cup size.
Trying On Bras: Do’s And Don’ts
Finding the perfect bra is key to feeling comfortable and confident. It’s important to know the do’s and don’ts while trying on bras. Remember, a good fit matters more than the size of the tag. Let’s explore tips to ensure a perfect fit every time.
Correct Way To Put On A Bra
Begin by facing the bra. Lean forward allowing your breasts to fall into the cups. Fasten the back hook on the loosest setting—this allows the bra to adjust as it stretches over time. Stand up and adjust your breasts so they sit properly within the cups.
Adjusting Straps And Bands
After you put on the bra, it’s time to adjust the straps. Pull the straps until they feel snug but not too tight. The band should be leveled around your body. It should not ride up or feel loose. Use a mirror to check alignment from all angles.
Tips:
- Always check the mirror for a back bulge.
- The band should not pinch or dig in.
- If straps leave marks, they’re too tight.
- Are straps falling off? Tighten them or try a different style.
Common Mistakes to Avoid:
- Don’t choose a bra just by cup size.
- Avoid wearing a new bra on the tightest hook.
- Never ignore the fit of the band, it gives most of the support.
Troubleshooting Common Fit Issues
Finding the perfect bra fit can feel like a mystery. But worry not! Recognizing and solving common fit issues means comfort every day. Let’s troubleshoot together.
Dealing With Gaping Cups
Gaping bra cups can ruin your outfit’s silhouette. Cups that don’t sit flush against your skin mean the fit is off. Here’s a quick fix list:
- Adjust the straps. Tighten until snug but comfortable.
- Try a smaller cup size. It should hug your curves smoothly.
- Consider a different bra style. Plunge or demi-cup bras might be the answer.
Solving Underwire Pain
Underwire shouldn’t hurt. If it does, something’s not right. An ideal fit means no pinching or poking. Use these solutions:
- Make sure the underwire encloses your entire breast without digging in.
- Confirm the band isn’t too tight. It should feel firm but comfortable on the loosest hook.
- If the underwire still bothers you, opt for a wire-free style for better comfort.
Correcting these issues enhances your comfort and confidence. A well-fitting bra is a game-changer. Remember these tips and enjoy a perfect fit, every day.
Maintaining Bra Quality

Let’s explore some smart habits to help your bras last longer and support you better. These include proper cleaning and storage, as well as knowing when it’s time to let go.
Cleaning And Storage Tips
Keeping your bras clean and stored correctly plays a huge role in extending their life. Here are some simple yet effective ways to care for your bras:
- Hand Wash: Always opt for hand washing your bras with gentle detergent. This preserves their elasticity and shape.
- Air Dry: Lay your bras flat to dry. Never wring them out or hang by the straps as it stretches them out.
- Proper Storage: Store bras flat in a drawer or on a shelf. Use bra organizers to avoid crushing molded cups.
- Rotate Use: Rotate between several bras to ensure they don’t wear out quickly. Give them a day off to return to their original shape.
When to Replace Your Bra
When To Replace Your Bra
A well-loved bra won’t last forever. Here’s how you know it’s time for a new one:
| Sign | Explanation |
|---|---|
| Stretched Bands | If the band rides up your back, it’s stretched and won’t support you. |
| Loose Straps | When straps slip off your shoulders frequently, they’re too loose. |
| Cup Shape | If your cups wrinkle or you spill out, it’s time for a change. |
| Hooks | Broken or bent hooks mean your bra can’t secure correctly. |
Assess your bras every six to eight months. Comfort and fit should guide your decision to replace them.
Choose a bra with a snug band
The band is the foundation of your bra’s support, so choosing one with a snug fit is essential. A properly fitted band should sit firmly around your ribcage, providing most of the bra’s support while remaining comfortable throughout the day.
It should be tight enough to stay in place without riding up your back but not so tight that it feels restrictive or causes discomfort. When trying on a new bra, start by fastening it on the loosest hook; as the band stretches over time, you can tighten it by moving to the middle or innermost hooks.
Conclusion
Wearing a bra correctly is not just about comfort—it’s about feeling confident and supported throughout your day. By following these steps, you can ensure your bra fits well, stays in place, and provides the support you need.
Remember, a well-fitting bra can boost your posture, enhance your appearance, and make you feel great, so take the time to get it right. With the perfect fit, you can wear your bra with confidence and ease.
As an Amazon Associate, I earn from qualifying purchases